LiPoTest
Usually you would like to power your Arduino project from a single cell LiPo battery. In order to do that you need a DC-DC boost converter, which converts the 3.7 volt output from a battery pack to 5 volt, which is required by a 5 volt based Arduino microcontroller board like the Arduino Nano V3.0 Development Board.
Besides this it would be nice to know how much juice remains in your LiPo battery at the end of the day. A LiPo fuel gauge can be used for this purpose. It simply measures the voltage level and the state of charge of your battery.
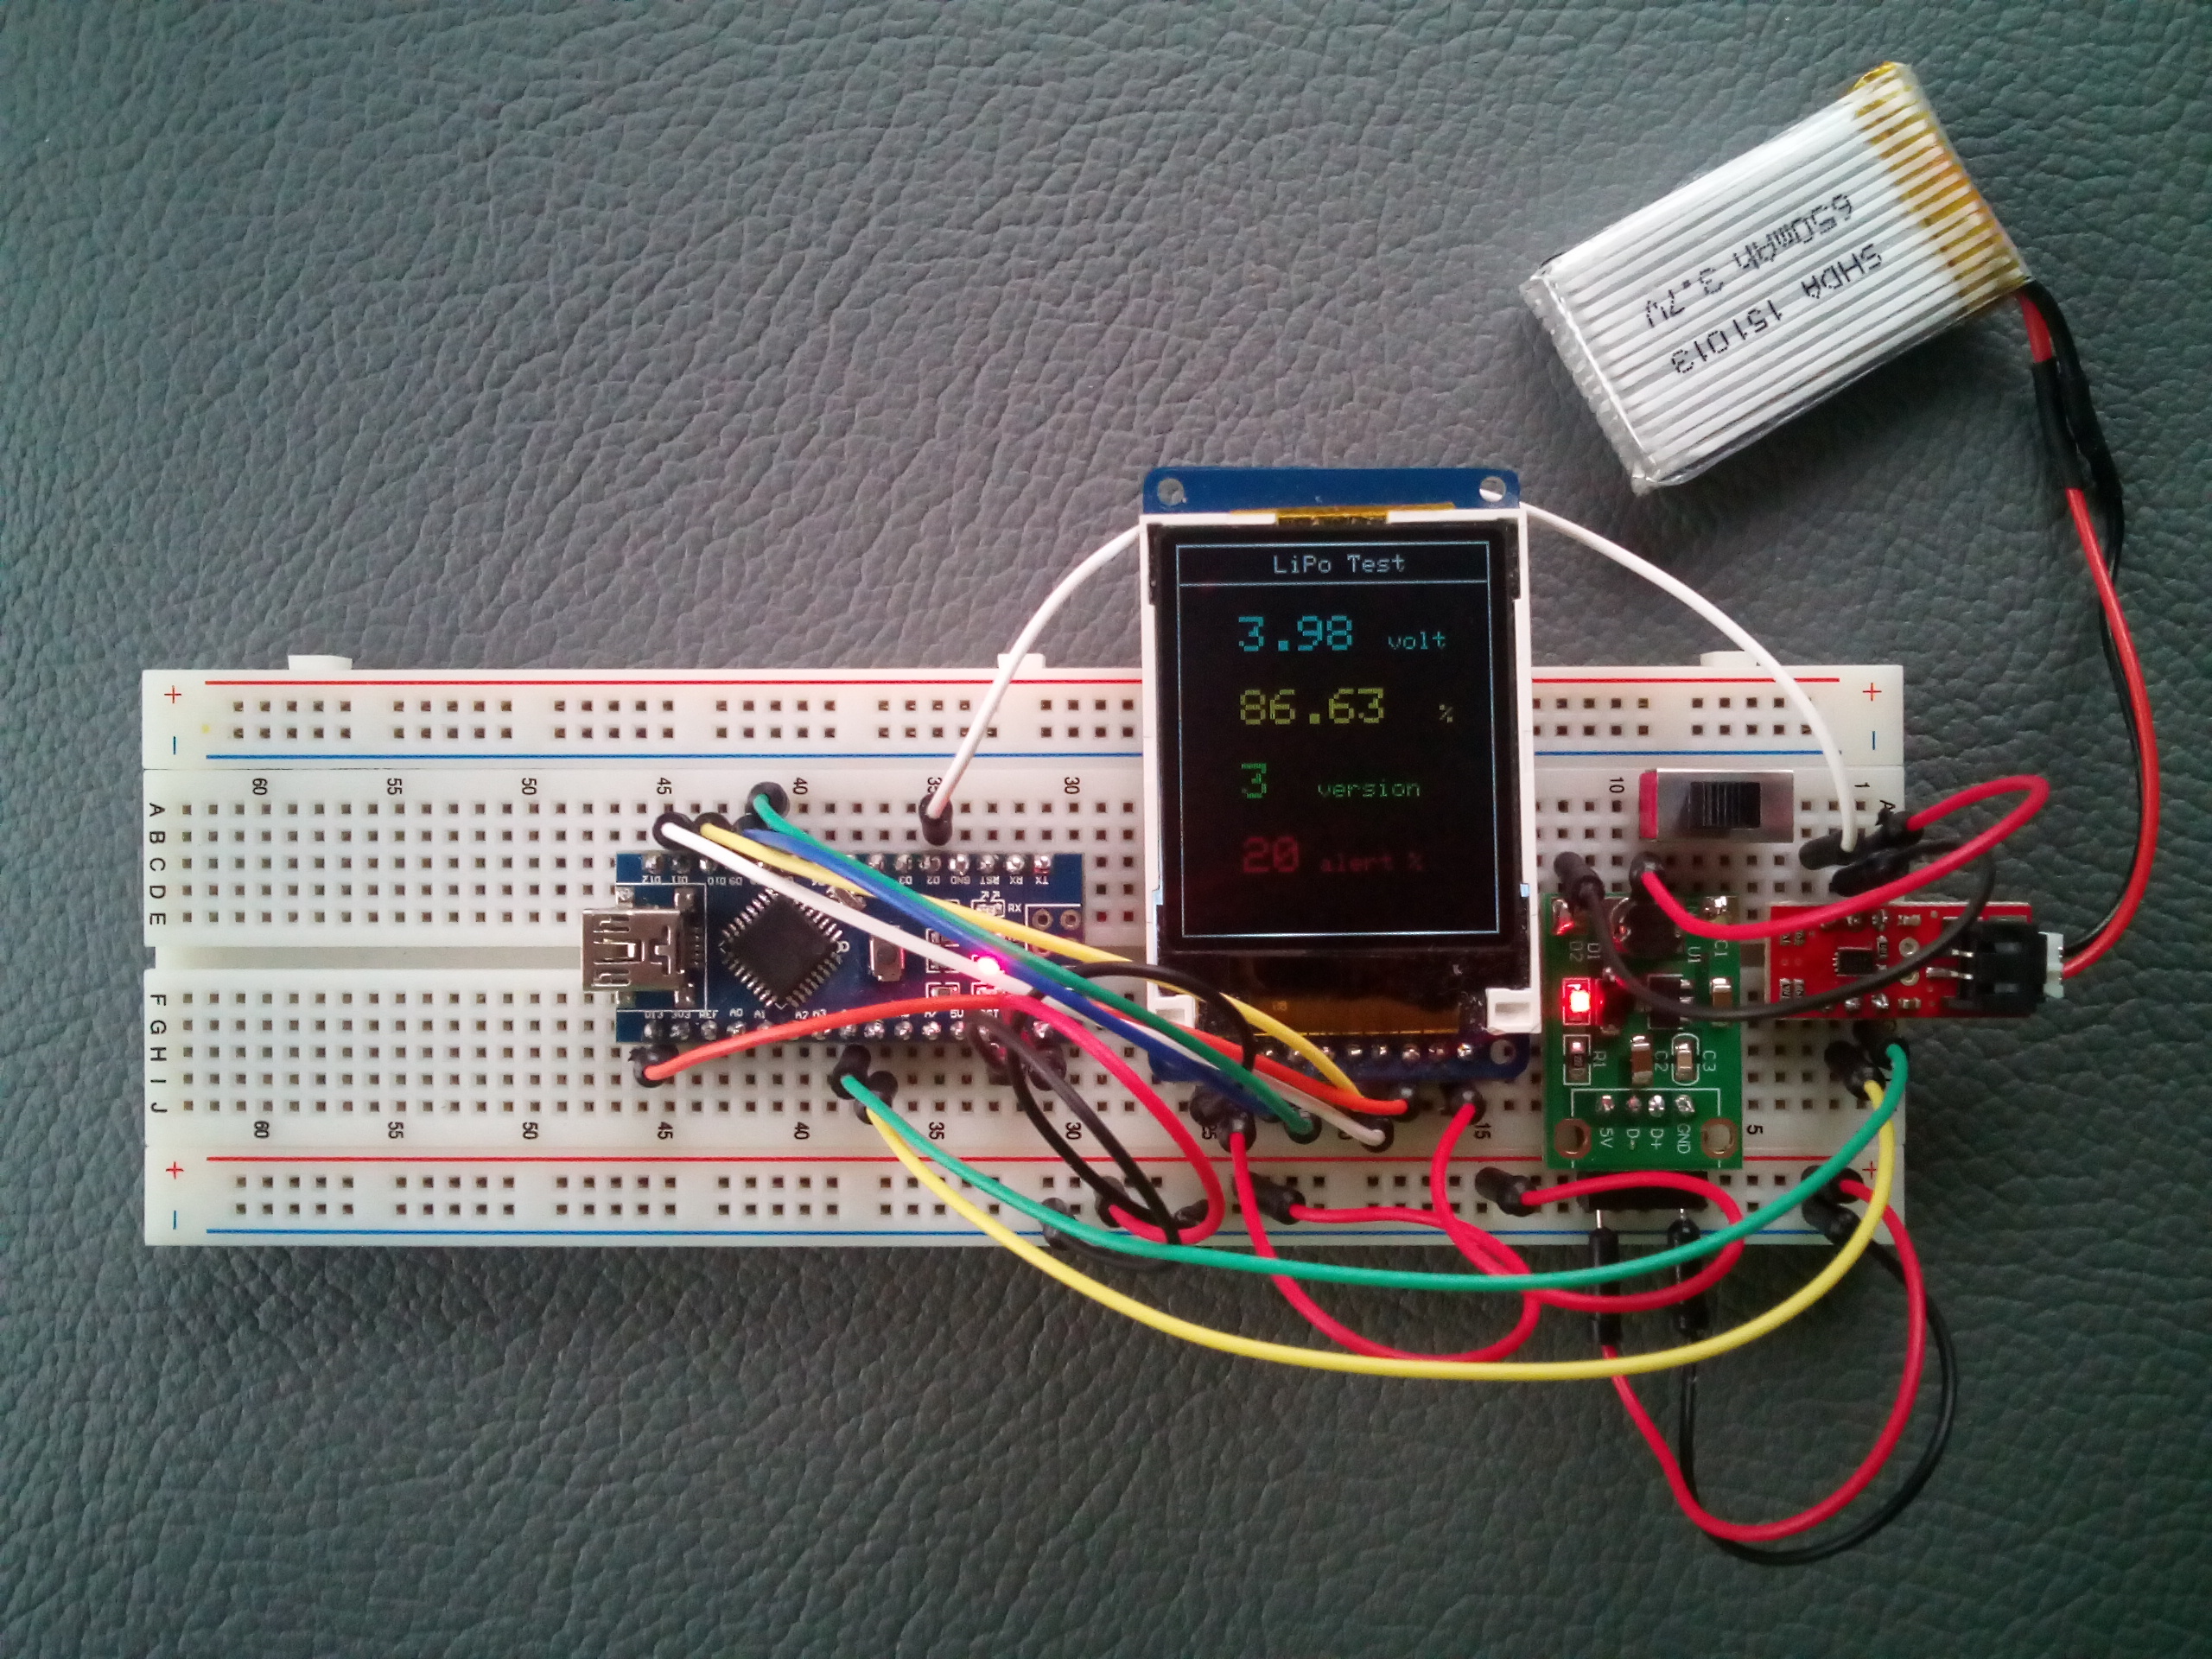
The boost converter and the fuel gauge together makes up a complete LiPo power solution. It would be nice to see the voltage level, the state of charge and the battery alert percentage on a TFT LCD display, so I created a small project, which does exactly this.
Parts
You have various options to pick a good boost converter. I selected a really cheap one: DC-DC Converter Booster Module. It does the job very well, but it is a little bit “noisy”. You can buy more expensive boosters like Sparkfun - LiPower or a one, which is combined with a charger Adafruit - PowerBoost 500.
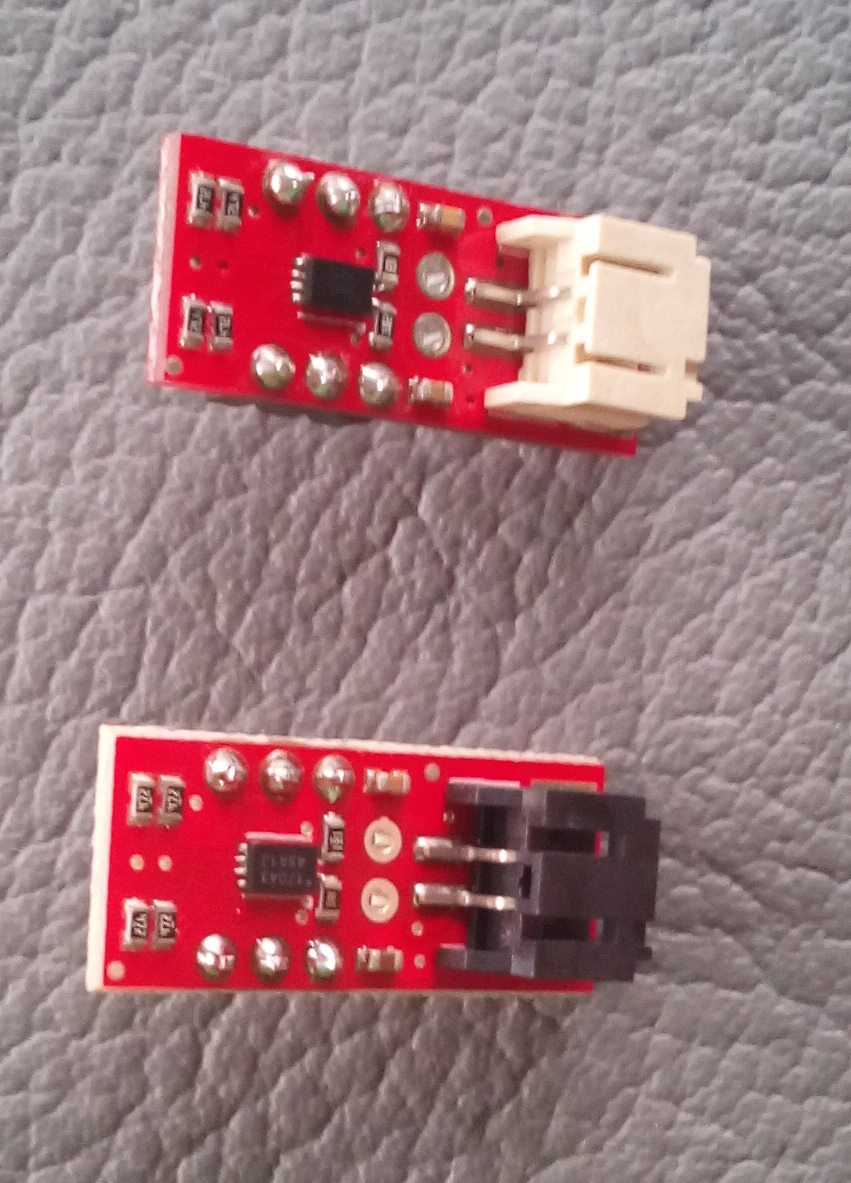
You have less options to buy a good fuel gauge. I tried first the LiPo Fuel Gauge Board Module for Arduino, which is the copy of the original SparkFun - LiPo Fuel Gauge. These can be seen on the following picture below - the original is with the black JST connector:

The problem is that the cheap clone doesn’t work at all! The PCB layout is the same, but the MAX17043 chip is a different version. The following forum thread discusses the problem in details. The fake gauge operates on the 0X32 address, while the original one on 0X36. The voltage level simply does not present on the fake one. The state of charge starts above 100% and decreases rapidly.
The other parts of the project are pretty standard. I have got a Adafruit - 1.8” Color TFT LCD display and a Arduino Nano V3.0 Development Board, which I used previously for my other projects.
Wiring
The LiFuelGauge Tutorial shows how to wire the booster and the LiPo fuel gauge together with your Arduino microcontroller board. Besides that I added an ON/OFF power switch and the Adafruit TFT LCD display. As a result it looks like this:

Code
The MAX17043 – Arduino library page contains detailed instructions about how to install and use the MAX17043 library. The Adafruit - Graphics Library can be used to program the TFT LCD screen.
Besides these all you have to do is to upload the LiPoTest.ino with Arduino IDE to your board, turn on the power switch and you can see the details of your connected LiPo battery.
Repository
The LiPoTest GitHub repository contains all project related materials.

